How do I create an offset line?
First you make the polyline
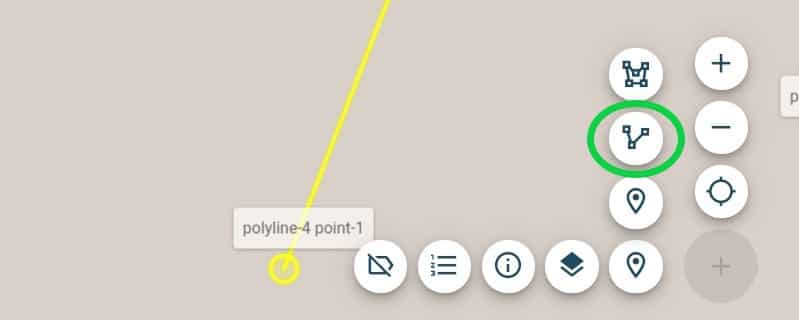
In your project environment you can create a line(polyline), but also an offset line. In order to make an offset line, you need to make the line first. You can simply start making a polyline by pressing on the polyline icon in your project. When you’ve selected this option, you can set the first point of the line by pressing the blue big button with the “+” and then the second point by pressing the big blue button with “+” to finish the line. When you have made your line, you need to select the line you want to copy.
How can I select the polyline?
You can select the line on your screen with your fingers, however it might be easier to find the right line in the objects list and select the poly-line in the list of objects. When you’ve done this, the yellow line, in this situation, will become purple. In the situation that it is purple, you can see four new options presented as icons. Press the green icon to make an offset line.
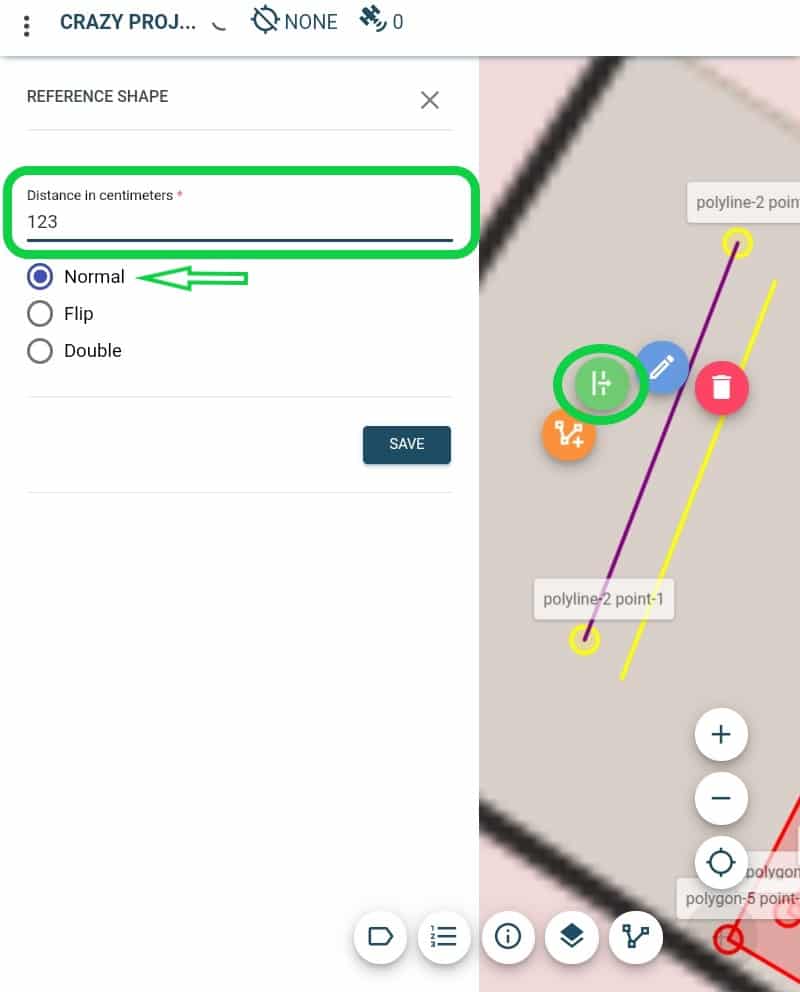
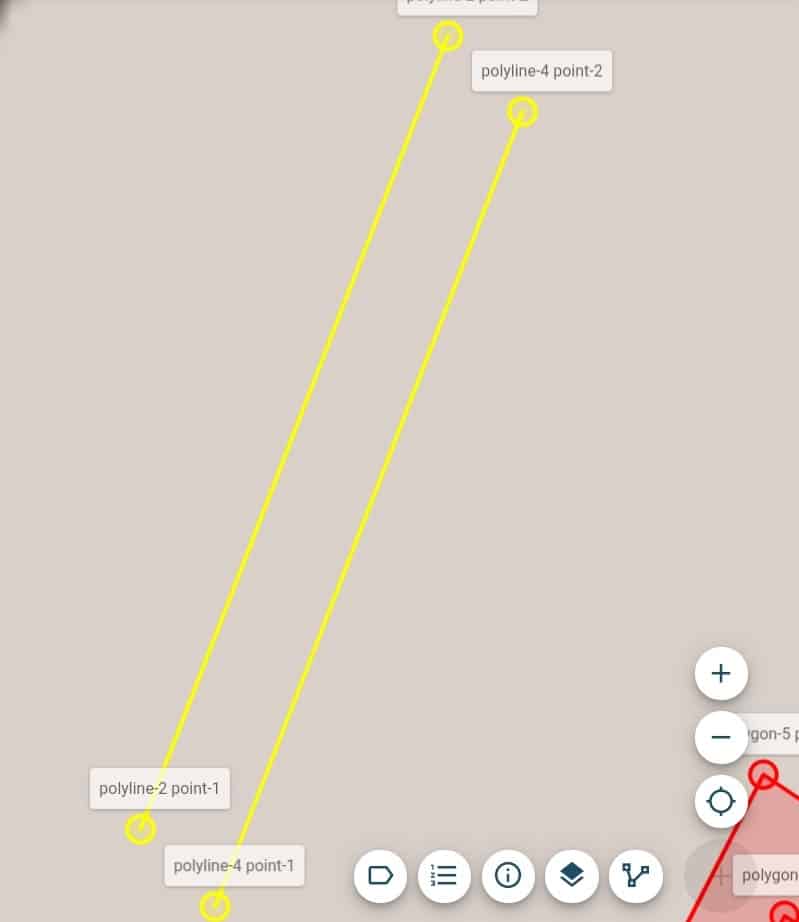
Fill in the the distance of the offset line and select the “Normal” option. When you do this you can set the distance between the copied line and your first poly-line. The offset line will be parallel to the first poly-line. Don’t forget to press save.
In case you need it on the other side, select flip instead of normal or both for both sides.
Why does this come in handy?
When you are in the field and you notice a spot where you can’t get a fix (under a bridge or roof) or don’t have access to, this offset line can be a wonderful option for you. It simply makes a parallel line next to the obstacle you measured. Obstacles like a tree, building or something else that functions as a barrier at that current moment can be bypassed.