How do I create a layer – layername – colours – attributes?
Add a new layer
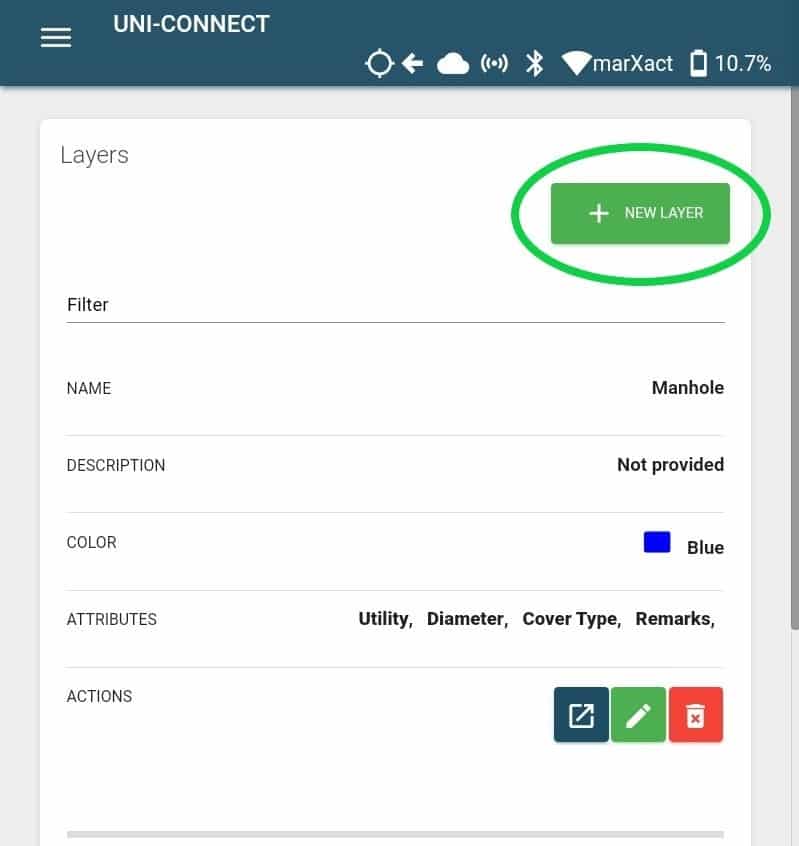
If you want to start a new project, it is important to have created the right layers as these are where you store the points in. A layer might be manhole or cable, just like in CAD or GIS software. You can configure your new layer under the Survey settings in UNI-Connect. Simply press on “New Layer” to configure your new layer, like shown in the picture below:
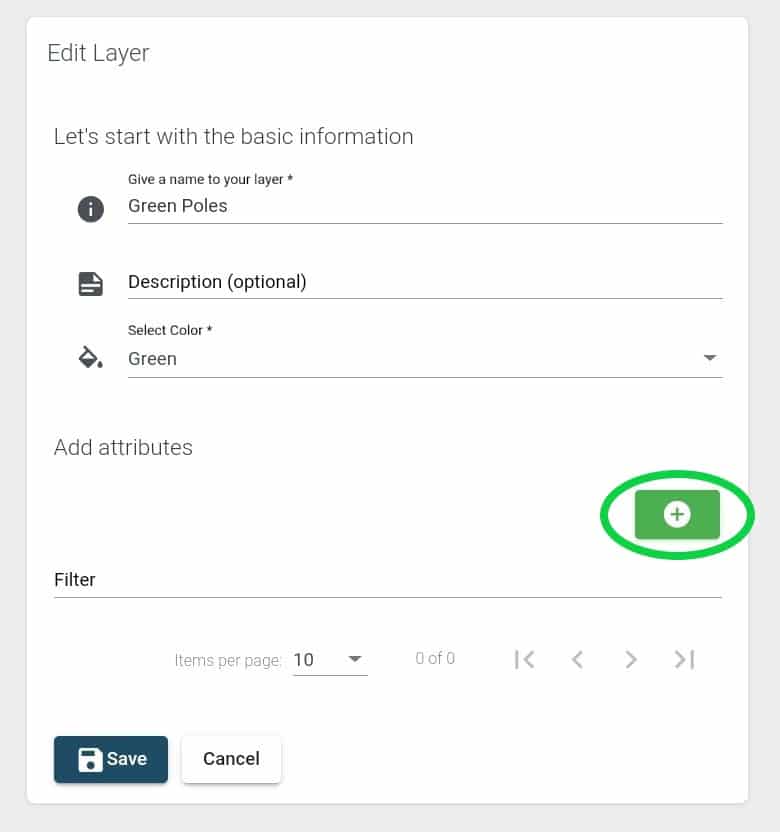
Within these settings you can give a name, colour and description to your new layer. Optionally you can add attributes to the layer like in the pictures below. In these attributes you can store more detailed information of the object you are surveying, for example the diameter of this object. Press on the add button to add new attributes and then select the type of attribute you want.
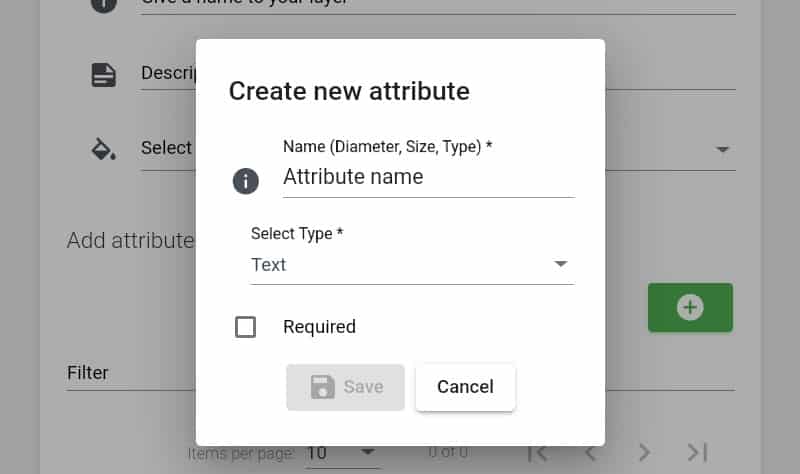
You can choose your attribute to be a text field (Text), an option field (Options) or simply just always the same name without an attribute value (None).
In case you pick “None”, the points/lines/polygons stored in these layers, will always have this attribute linked to it.
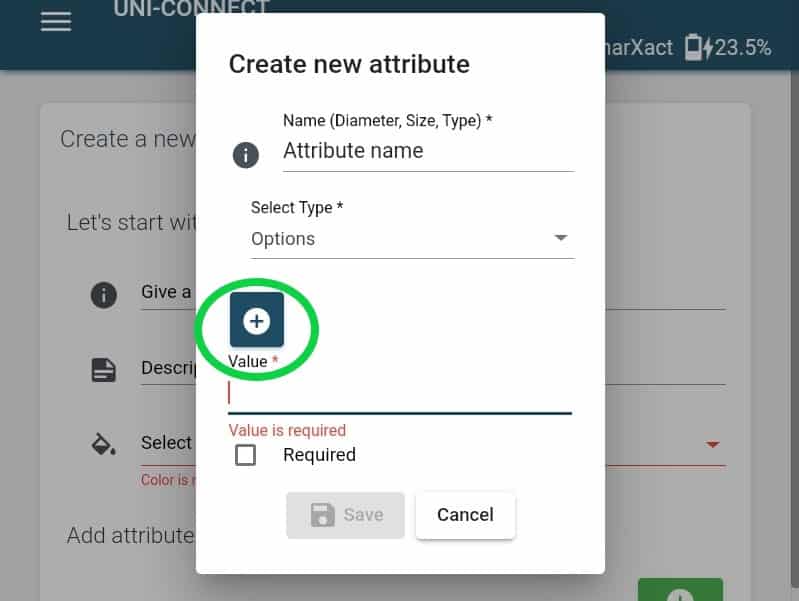
In case you pick “Text”, you will be able to add an attribute value at the moment you store a point/line/polygon. In the example below this would be “Attribute name – text entered”. A more practical example can be calling the Attribute “Diameter” or “Material Code”. When you store a point/line/polygon you can then enter the value with that point, for example resulting in “Diameter: 60” or “Material Code: GF6852-AA”.
You could also opt to use “Options”, where you give a set of pre-defined values. This can be useful in cases where your attribute values are always one of a limited set of possible values. For example, in case your Diameter is always 60 or 80, you would give it the name “Diameter” and values 60 or 80. You can add as many values as you want as shown in the image below.
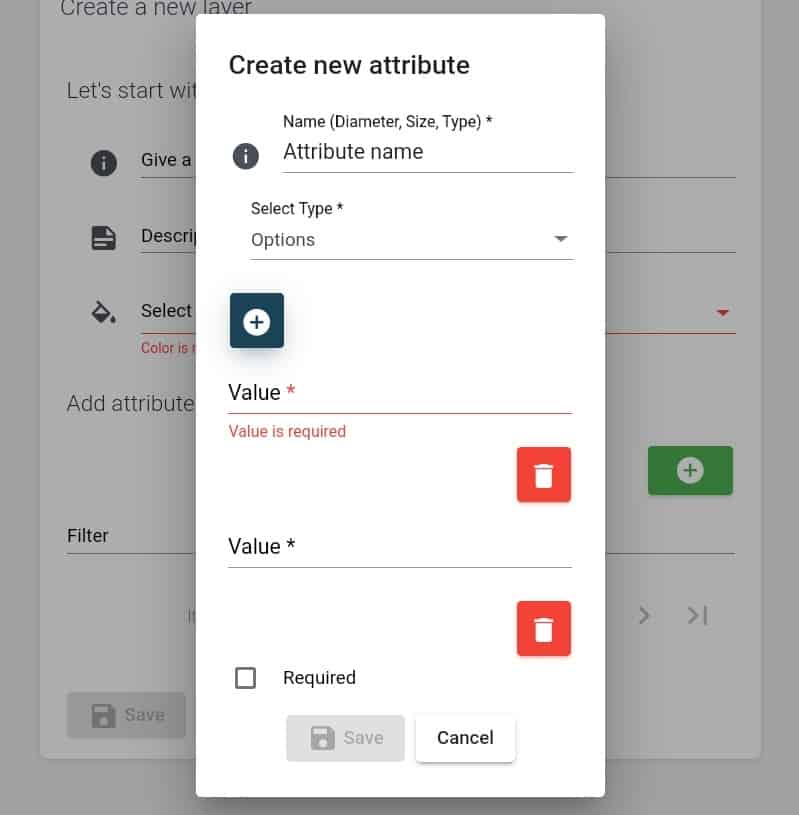
In all cases you have the option to make the attribute “required”. In case it’s “required”, you always have to put in or select an attribute value in order to store the point.
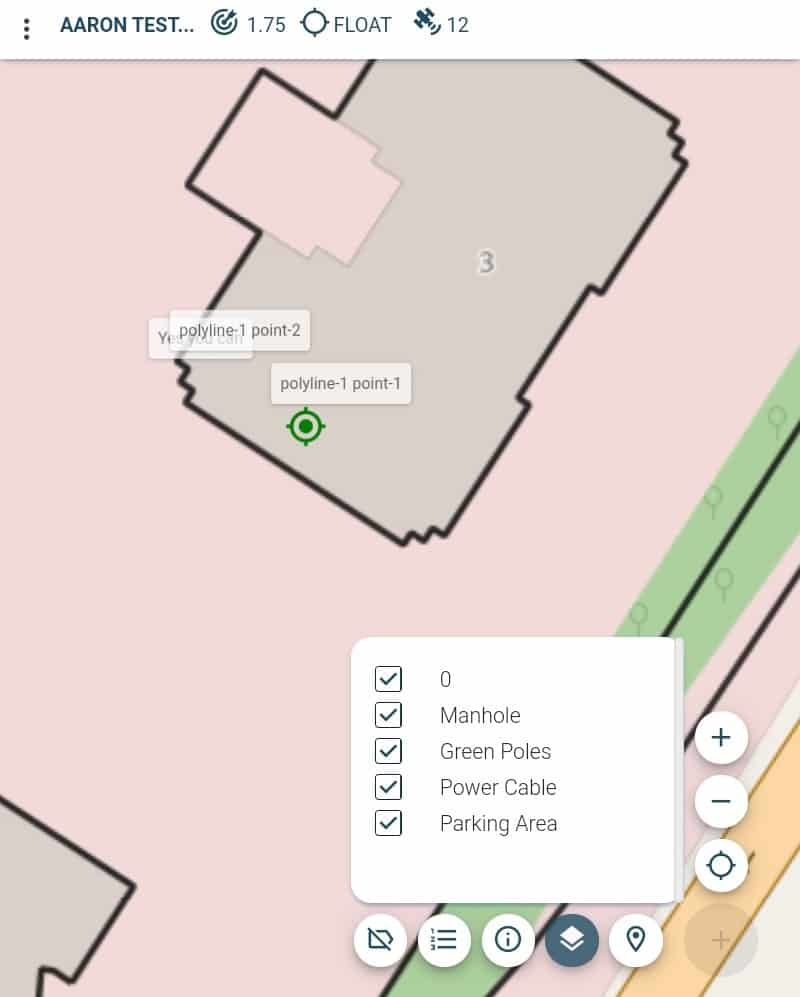
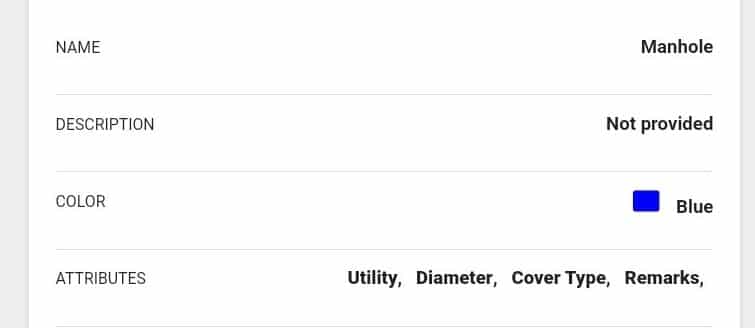
Once done, your layer may look like this:
You can make the object in the layer visible in the project and you can now start surveying a point, line or polygon in that layer.